Easy & Quick DIY Choker Necklaces
Hello everyone! I'm OBSESSED with the choker trend, and I decided to show you how to make your own choker necklace with this easy step by step tutorial. It's super fast, easy and cheap, in just few minutes you can make any style choker you like.
Products used :-
1. Ribbons (preferably lace ones)
2. Gold chain
3. Gold jump rings
4. Gold ribbon crimps
5. Gold lobster claw clasps
6. Gold head pin
7. White beads
8. Ruler
9. Pliers
10. Scissors
2. Gold chain
3. Gold jump rings
4. Gold ribbon crimps
5. Gold lobster claw clasps
6. Gold head pin
7. White beads
8. Ruler
9. Pliers
10. Scissors
Steps :-
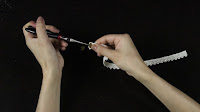
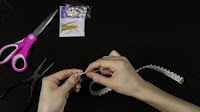
Now, first, get your ribbon crimps, put your ribbon in between your crimp and hold it in place.
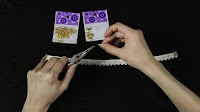
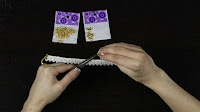
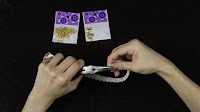
Then, use your pliers to crimp them on each end of your favorite choice of ribbon, like that!
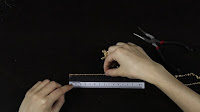
Second step, get your gold chain, measure it with your ruler.
Use your pliers and cut it for about 7cm long.
After that, get your jump rings. Make a gap in between the jump rings.
You can hook it on the gold chain and now.
Get your ribbon and hook the jump ring on the ribbon crimp then secure it.
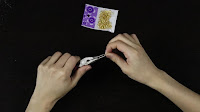
Third step, get your head pin and a white bead.
Take the head pin and put it through the bead and then use your scissors to cut the (extra pin) (if you think it's too long for you to make a hooker.)
Use your pliers to shape it to a bulb shape.
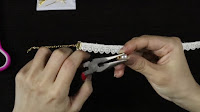
Then you hook it on the other end of the gold chain and secure it with your plier.
Again, your make a gap in between your jump ring and hook the claw clasps on your jump ring.
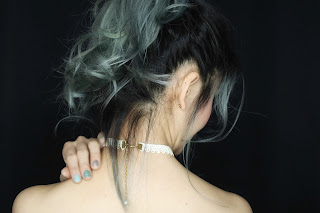
After that take the other end of your crimp, hook it on the jump ring as well, secure it and you're ready to wear!
Done!!!
You can check out the full video tutorial here.
If you have any questions about how I made this, feel free to ask in the comments!
☟☟FOLLOW ME☟☟
•Facebook: https://www.facebook.com/lynetteteemakeup
•Instagram: http://instagram.com/makeupbylynettetee
•Tumblr: http://lynetteteemakeup.tumblr.com/
•Twitter: http://twitter.com/lynettetee04
•Pinterest: http://pinterest.com/lynettetee/
Lynetteteemakeup ©









No comments:
Post a Comment